Affiliate Disclaimer: Some of the links below are affiliate links. As an Amazon Associate, I earn from qualifying purchases.
If you own a home, at some point, you will have to have new shingles installed on your roof. In an effort to save some money, you may want to do it yourself. However, there are a lot of things to know about installing shingles to be sure you do a safe, reliable job.
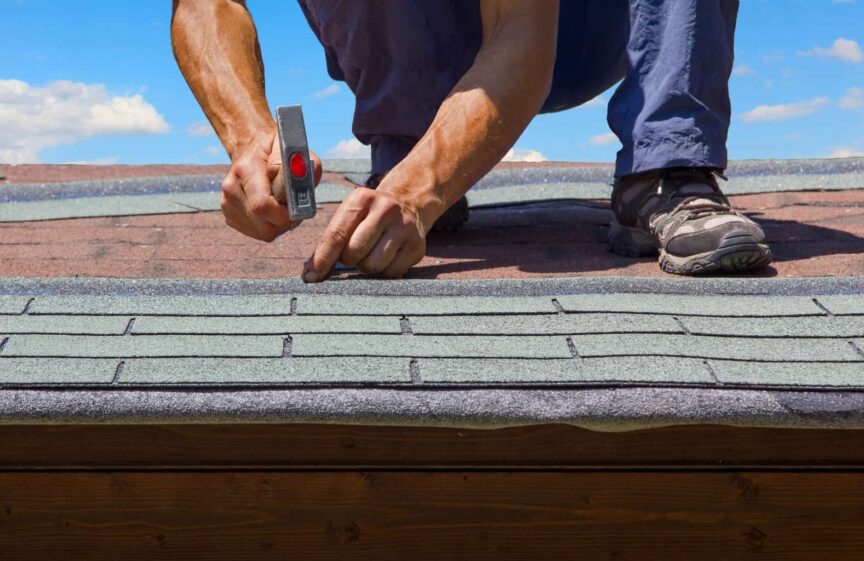
How much overhang should roof shingles have? If you have installed a drip edge flashing, you should have between half an inch and three-quarters of an inch shingle overhang. If you do not have a drip edge flashing installed, shingles should overhang an inch to an inch and a half.
In this article, I will go over why overhang is so important and how much overhang shingles should have to dry properly.
Why Is Overhang Important?
Getting your overhang installed correctly is essential, but what does that mean? The overhang of roof shingles is the amount of the shingle that extends past the roof’s lower edge, creating a lip. Having an overhang prevents the water from making contact with the structural areas of the roof.
The more water you keep from the structural components of the roof or fascia, the longer these parts will last. However, if the roof’s wood becomes damaged, you will have to tear off all of the shingles and the damaged wood and then replace them. Shingles are laid from the bottom of the roof to the peak, so the higher shingles must be removed to get to the lower ones.
The average roof repair cost in the United States is over $7,500. This does not include replacing insulation, drywall, or electrical issues cause when a roof leaks water into a home. When water makes contact with electrical lines, shorts can cause devastating house fires. It is easy to say that a little overhang can save you a lot of time, money, and stress.
Do You Need Drip Edge Flashing?
As stated earlier, there are measurements to use when installing shingles without the use of drip edge flashing. However, just because you can do it doesn’t mean that you should. In fact, building codes across the country usually require them to be installed because of the risks of going without.
If your home didn’t have one before, it doesn’t mean it shouldn’t have one now. The downside to this is that you may not have the physical structure to attach it to. If your roof is without fascia boards, it’s time to consider installing them since you already have the ladder and hammer out.
Installing a fascia to allow for a drip edge flashing may seem like too much work for what was supposed to be a simple shingle replacement. However, the benefits far outweigh the costs in the long run. Remember, your home is an investment, and water can turn it into a nightmare. Let’s take a look at the steps you should take to protect that investment.
How to Install What You Need
There are a lot of details that go into installing shingles on a house that you only learn through experience. However, there are some basics that will get you through in a perfect world scenario. That means that your roof structure is flat, square, straight, and in perfect condition, and you already have a fascia and gutters installed.
Tips and Tricks
Here are a few things to keep in mind before you begin:
- This job can be done with a hammer and nails, but it will take significantly longer. A nail gun, especially one that runs off of an air compressor, will save you lots of time and trips up and down the ladder.
- It used to be common to layer new shingles on top of old shingles. This adds increased weight and stress on the roof and is no longer up to code in many parts of the United States.
- The pitch of your roof can limit the types of shingles you use.
- Shingles can come with a life expectancy warranty, but this may be voided if you do the work yourself.
- You will need a dumpster or large trailer to haul off the old roofing material.
- Have a strong rolling magnet available to clean up nails that fall into your yard.
- If you live in an area with snow or ice, installing ice dam protection is essential.
- Be prepared for the job to use more shingles than the basic measurements dictate.
- Be prepared for rain in case your job is delayed, or a surprise rainstorm arises. Have tarps, ropes, and weights ready to be used.
The Guide
1. Remove all old shingles and nails from the roof boards. Any nails left protruding can cause tears in the shingles that will allow water in.
2. Remove any damaged roof edge flashing. Removing this now will save you time later on when the new shingles are installed.
3. Remove and replace any damaged roof boards, or boards with signs of water damage. Damaged boards can create trouble areas that may attract water as the boards degrade further. Heavily warped boards will cause dips or rises and also hurt the overall appearance of the roof.
4. Install the ice dam material at this point if it is needed in your region. This will prevent ice from forming under shingles and creating dams that hold water onto the roof.
5. Install asphalt roofing paper over the boards. These are installed horizontally, just like shingles, to create another barrier from moisture. If the shingles become damaged for some reason, this offers another layer of protection from leaks.
6. Install new drip edge flashing around the edges of the roof. This will go over the asphalt paper and ice dam material.
7. Where needed, install new valley flashing if you have two roofs that come together. Shingles alone will not protect these areas as they cannot mold themselves to the angles needed without breaking.
8. Measure the sides of the roof and lay chalk lines horizontally across the roof. This will create a visual aid to help keep the shingles from being installed unevenly.
9. Begin installing shingles. Be sure to check the manufacturer recommendations for which part of the roof to begin with. It may seem odd, but it does make a difference in shingle placement.
10. For the starter layer, cut the tabs off of the sheets and attach them to the roof. This creates a solid layer with no tab slot for a clean appearance and stability. It should overhang between half an inch and three-quarters of an inch. Some people choose to turn the shingle upside down to save time.
11. Nail the shingles in by driving the nails directly above the tab slits. That is the weakest part of the shingle and doing this will help keep them secure.
12. The first layer should be laid flush with the bottom of the starter layer.
13. The following layers should be staggered, keeping the tab slits from ever lining up. Allowing them to line up will create a water channel and decreased protection.
14. Continue the process up the roof until you reach the peak. Be sure to use caulk or other approved sealants as you reach the flashing that was installed for vents and the like.
For a more detailed video series on the basics of this project, click here.
Final Thoughts
Make no mistake, roofing is hard work. Knowing how much overhang roof shingles should have is only a small part of the job. There is a lot to know, a lot to do, and a whole lot to be carried! If you’re going to take the leap and try it yourself, do it safely and smartly.
Share this Post
Giovanni Valle is a licensed architect and LEED-accredited professional and is certified by the National Council of Architectural Registration Boards (NCARB). He is the author and managing editor of various digital publications, including BuilderSpace, Your Own Architect, and Interiors Place.