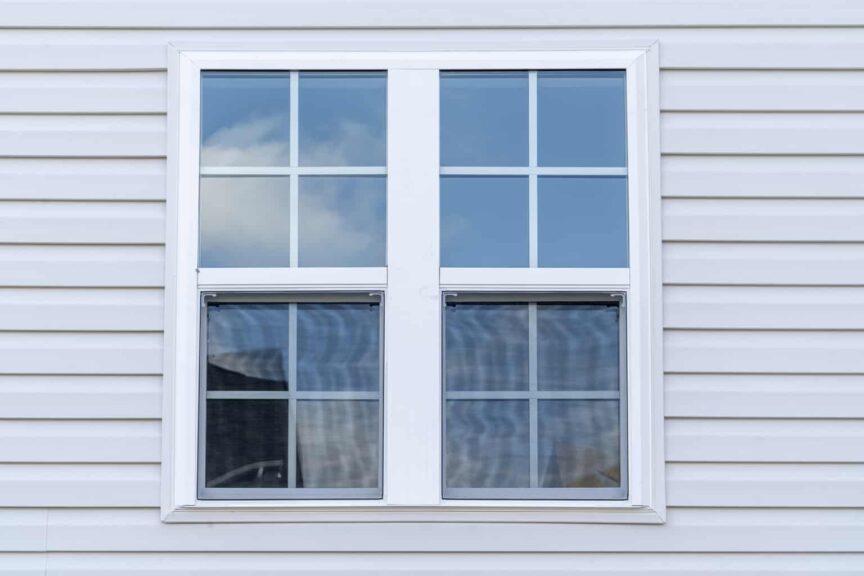
Window tracks collect dirt and grime over time because they are unable to be cleaned from the outside. This build-up can prevent windows from sliding up or down. If the windows in your home are sliding down and getting stuck, there are a few quick and easy fixes that will get them working like new again!
Here are some ways to keep your windows from sliding down:
- Tilt the window sash inward.
- Inspect the pivot bars for damage.
- Remove the pivot bar if damaged.
- Replace the pivot bar and reinstall.
- Inspect the shoes.
- Replace the shoes if damaged.
- Try a simple cleaning or lubricant.
- Replace the window sash spring.
- Replace the window entirely.
A window that slides down when it’s supposed to go up can be quite problematic. Fortunately, there are fixes for this problem that won’t cost much money or take too much time. Keep reading for some easy methods that will help get your windows working properly in no time!
1. Tilt the Window Sash Inward
The first step in preventing your windows from sliding down is to inspect them for potential issues. The most common cause of a sliding window is damage to the mechanism that allows it to stay open and closed.
Make sure nothing is preventing the window from staying in its intended position, such as bent tracks or stiff rollers. Also, check for any loose connections where hinges attach to levers or missing screws holding together stationary parts like roller brackets.
You’ll need to tilt the window sash inward to roughly a 90-degree position. Use a screwdriver to tighten any loose screws you find. This will prevent the window from sliding down the track. You may also want to oil moving parts or replace rollers that are stiff, worn, or bent.
If you find any potential problems with the hardware holding your window in place, consider replacing it entirely before proceeding with other fixes. There are several types of hardware for different types of windows, so be sure you know what type you need before purchasing parts online or visiting a home improvement store in person.
2. Inspect the Pivot Bars for Damage
Next, inspect both pivot bars for wear, damage, or twisting. If any part is misshapen in either pivot bar, replace the pivot bar before proceeding.
The pivot bars are located on the left and right sides of your window. These mechanisms are used to lift the window. If either bar is damaged, it may no longer be possible to push your window up and down correctly, making this an extremely critical part of your troubleshooting.
If you cannot find any damage in your pivot bars but are still not working properly, inspect the nylon bushings for wear or damage. If the pivot bars are damaged, they’ll appear worn or bent and will need to be replaced.
Sometimes the nylon bushing itself is the problem. If you find this to be the case, you’ll need to replace them with polyurethane bushings – these are stronger than regular nylon ones.
3. Remove the Pivot Bar if Damaged
If you find issues with either pivot bar on the lower section of your window, consider replacing both pivot bars. You don’t want to replace just one or two parts when more extensive issues may be present on the other side. To remove your window’s pivot bars, take out screws and carefully lower the window. Keep it supported so it doesn’t fall on you while you’re working.
Once the window is lowered, inspect the pivot bars and find which parts need to be replaced. To take the damaged pivot bars off, carefully pry the arm off the track with a flathead screwdriver.
Pivot bars pop into tracks, so they may come loose during removal. Be sure to note how everything is put together before you remove them because your new parts need to be installed in exactly the same way.
Now you can take out screws from broken pivot bars and set them aside for later installation of replacement pivot bars.
Here’s a YouTube video explaining how to replace your window’s pivot bars:
4. Replace the Pivot Bar and Reinstall
Pivot bars are available for all types of windows, so you should have no problem finding the correct replacement at your local hardware store. Reinstall the bars using the same process as above.
To help prevent them from warping or damaging, you need to lubricate the pivot bars regularly. You should use graphite oil to coat the pivot bar so that it glides up and down with ease.
If your window still keeps sliding down, then you might have to take more drastic measures.
5. Inspect the Shoes
The next step to complete is to inspect the shoes. In windows, shoes are the pieces of metal on the window jamb that hold the window glass in place. When they rust, they become hard and unable to slide easily up and down, which causes the sliding problem. To inspect the shoes, you will need a Flathead screwdriver.
Start by inspecting the track or jamb to find a cutout. Cutouts allow you to remove the pivot shoe from the track. Be sure to remove any window stops or track covers to expose your cutouts.
Use a Flathead screwdriver to remove the pivot shoe from the track in the cutout. Two locations to look for cutouts are in the top corner for the lower sash and the bottom corner for the upper sash.
A common type of shoe is a metal “U” shaped bracket that attaches the window pane to the sash window frame on which they slide up and down.
When you inspect the shoes, look for cracks or breaks. If they are broken or cracked, the windows may need to be repaired. Once you find these problems, it is time to replace the shoes.
Here is a helpful YouTube video detailing the process for removing shoes from a vinyl window:
6. Replace the Shoes if Damaged
Replacing the window shoes is a very easy process.
To replace the broken or damaged window shoes, you’ll need to order new ones so they will match your windows. You can purchase new ones online or at a local hardware store. Remove the shoes using the above directions and install the new ones using the same process.
7. Try a Simple Cleaning or Lubricant
If your pivot bars and shoes are in good condition, you can try just cleaning them or lubricating them. The pivot bars are the bars that your window latches onto when it slides up and down. Cleaning the pivot bars will make sure there is no gunk in the way of the rollers moving smoothly. Some methods for cleaning your window tracks, sash, and pivot bars include:
- Soap and Water. Using non-toxic dish soap, scrub the track and surrounding areas to remove all dirt. Be sure to wipe down both sides of the window. You can also use a cloth with some glass cleaner on it and wipe down both sides of the pivots bar where the shoes ride on.
- Vinegar. Pour equal parts white vinegar and distilled water into a spray bottle. Spray this mixture onto both sides of the window along with any other dirt you see in the tracks or near it. Allow it to sit for 15 minutes before wiping away with paper towels or rags.
- Scrub With a Brush. Use an old toothbrush (or better yet, an old toothbrush you don’t mind throwing away) dipped in baking soda to clean inside corners where grime might build up.
- Brush Down Tracks. After cleaning, use a dry paintbrush to sweep down any debris or dust that may have been loosened as a result of cleaning your window tracks. Debris can scratch the surface of the window as it moves back and forth over time, so clean those tracks well!
- Wipe Down Frames. Wipe the window frame down with a dry rag or paper towel to remove any dust or debris that brushes off while cleaning. This is also a good time to plug any “secret holes” you don’t want people to see!
If you’re having the opposite problem, meaning your windows aren’t sliding up and down easily, it might be beneficial to use lubrication on the track/pivot bars.
To lubricate the tracks of your window, you should:
- Open the window all of the ways and tilt it out on its hinges.
- Spray a little lubricant on a clean cloth and wipe along the window tracks, jamb liner, and weatherstripping to help them glide smoothly.
- Open and shut the window several times to distribute the lubricant evenly. If necessary, add more lubricant until the window does not stick any longer.
8. Replace Window Sash Springs
Windows are made with springs on the sashes to help them balance, so they don’t flip open or shut too easily, but over time these springs often become worn out. If your window is getting stuck when opening it, then this might be why.
Replacing these window sash springs is relatively easy – just purchase a replacement spring at your local hardware store and follow the instructions for how to install it.
To replace the sash spring, follow these steps:
- Engage the takeout clips located in the sliding cavity of the main window frame. Lift the bottom of the clip outward using your finger (you may use a flathead screwdriver if it is easier).
- Hold the balanced springs in place so that the sash can be removed. Firmly simply lift the sash and remove it. You can now see the balance spring assemblies.
- To remove the balance spring, grab the top of the spring tightly as it will be under some pressure with your hand. Firmly in place, press down on the spring until you can swing the top of the balance spring out from under the takeout slip.
- Lift the spring, slowly relaxing the pressure as you move. Once the spring is completely relaxed, raise it until the hook at the bottom releases from the window frame.
9. Replace the Window Entirely
If none of these work, you may have to replace the window entirely. There are several factors to consider on whether or not this is necessary.
If the frame of the window has become bent or damaged, replacing it along with the glass will be necessary to ensure a good seal and fitting on all sides. Likewise, if your house is older and you are finding that more windows are becoming too hard to slide up and down properly, then it may be best to look into replacing all of them altogether.
If this is the case, the potential savings of not having to rely on the difficult and problematic windows may add up to be much more than you expected. Replacing all or most of your home windows can be a huge expense, so it is best to weigh all options before making such a big commitment.
To replace your windows, you will need to consider the price of the windows, location of replacement, and labor required.
You can replace your windows yourself by purchasing them on your own or through a professional home improvement retailer. If you hire a professional, then you will be able to rely on someone else for measurements, installation, and other details that may come up during this process.
Here’s a YouTube video that details how to replace windows yourself:
If you are purchasing replacement windows on your own, then it is important that you not only look into the cost of window materials but also labor costs as well since if these are too high, they can easily offset any potential savings in purchasing them yourself.
Average-sized replacement windows cost between $300-600 for standard single hung models, while additional features may cost more. Vinyl windows are slightly more expensive than wood windows, but since they are durable and low-maintenance, they are often worth the higher cost.
If you are looking for custom-made replacement windows, then the price can be much higher than standard windows. However, you will also find that their energy efficiency is much more significant, which means that your monthly heating or cooling bill may be lower.
Sources
- Bob Villa: How Much Does Window Replacement Cost?
- PJ Fits: How to Fix a Window That Won’t Stay Up
- YouTube: How to Replace a Window Pivot Bar
- YouTube: How to Remove Window Pivot Shoes
- YouTube: How to Replace Your Windows| This Old House
Giovanni Valle is a licensed architect and LEED-accredited professional and is certified by the National Council of Architectural Registration Boards (NCARB). He is the author and managing editor of various digital publications, including BuilderSpace, Your Own Architect, and Interiors Place.