If you’re in the process of remodeling your house and need to install new electrical outlets, you might be wondering how you can mark sheetrock for your outlet locations. The good news is there are many ways you can do this.
Here are 7 methods to mark sheetrock for outlets:
- Use a pencil.
- Use an outlet stencil kit.
- Gouge the sheetrock in small spots until you have a pattern.
- Use a center punch to create a reference mark.
- Use a painter’s tape to make marks on the wall.
- Use a stud finder.
- Cut through the sheetrock via drywall saw or utility knife.
While the most popular method is using a stud finder, it ultimately boils down to your preference and whatever tools are available at your disposal. Keep reading as I’ll go through the different methods for marking sheetrock for outlets.
1. Use a Pencil
Using a pencil is the least effective, but it’s free and doesn’t damage the sheetrock in any way. Marking out where your outlet will go on sheetrock using a pencil can be inaccurate, especially if you’re working with measurements (and not an existing outlet). It’s also easy to smudge pencil marks. However, don’t use ink or anything that’ll leave residue on the wall.
To use this method, measure the space you want for your outlet and mark that spot with a pencil. Draw an outline around it to indicate the size you want. This method is best when installing multiple outlets in one area, such as adding additional lighting or switches.
Here’s a helpful YouTube video detailing the pencil method:
2. Use an Outlet Stencil Kit
Outlet stencil kits are designed to help you install an outlet in just the right spot. These stencils are made of thin, flexible plastic and can be cut with scissors or a utility knife to fit any shape. The kit includes instructions on how thick your lines should be when marking. You simply follow these directions so that it’s easy to get your outlets exactly where they need to be.
Like this tool from Harbor Freight Tools, outlet stencil kits are available for purchase from home improvement stores, hardware stores, and online. You can find a variety of outlets to fit your needs. These tools are excellent for marking the location of electrical boxes with minor damage to the sheetrock.
3. Gouge the Sheetrock in Small Spots Until You Have a Pattern
This method is a little more difficult, and it can be easy to damage your sheetrock if you’re not careful. It works best if you just want to mark one or two outlets. However, with a few tools, it can help you mark your outlet locations in a pinch.
Use a nail, screw, or awl to puncture a hole in a sheetrock seam. Be gentle and use short strokes that don’t completely cut through the sheetrock. Just pierce it enough to have an indentation in the wall that you can see and feel. Then, use a marker to outline the indentation, and that’s your outlet location.
4. Use a Center Punch To Create a Reference Mark
This one isn’t a bad idea, but you have to keep in mind that the bit will carve out a hole slightly larger than the center punch tip. This method may not be for you if you’re marking more than one outlet location on your sheetrock.
To use a center punch to make a reference mark, find the center of the outlet’s box and use a center punch to create a dent in the sheetrock. You can then outline this indentation with a marker for an accurate pencil mark. Keep in mind that you’re going to scratch up your drywall when using this method, so only consider it if you’re marking one location on your sheetrock.
5. Use Painter’s Tape or Chalk To Make Marks on the Wall
Painter’s tape won’t leave any residue on the sheetrock or paint underneath if removed properly (hence its name). You can find it at most large hardware stores and home improvement centers. It comes in both 1″ and 2″ (2.54 and 5.08 cm) widths, but I recommend using a 1″ (2.54 cm) width for easier handling/to be cost-efficient.
The best part about this marking method is that it won’t damage the walls while you take your measurements to finalize where everything should go with a pencil.
Another easy way to mark sheetrock for outlets is using standard chalk that you likely already have lying around the house. A chalk line can be used without tools on hand and makes measuring long distances easier on the eyes than with a pencil on paper.
Simply put some chalk on either side of where you need to make a mark and snap the chalk line across to create a straight perpendicular line.
6. Use a Stud Finder
A stud finder allows you to measure depth before marking spots on your sheetrock, so it’s one of the top ways to mark sheetrock for outlets. Using a stud finder is easy. You just press the button and hold it near where you believe the outlet is, and it’ll beep if there’s a stud behind that specific area.
Using a stud finder is more helpful when installing a new outlet in finished sheetrock. This is because you can directly place the outlet on the stud instead of having to guess where to install it. If you’re hanging new drywall or making repairs, try using a stud finder and a pencil to mark sheetrock for outlets instead of other methods.
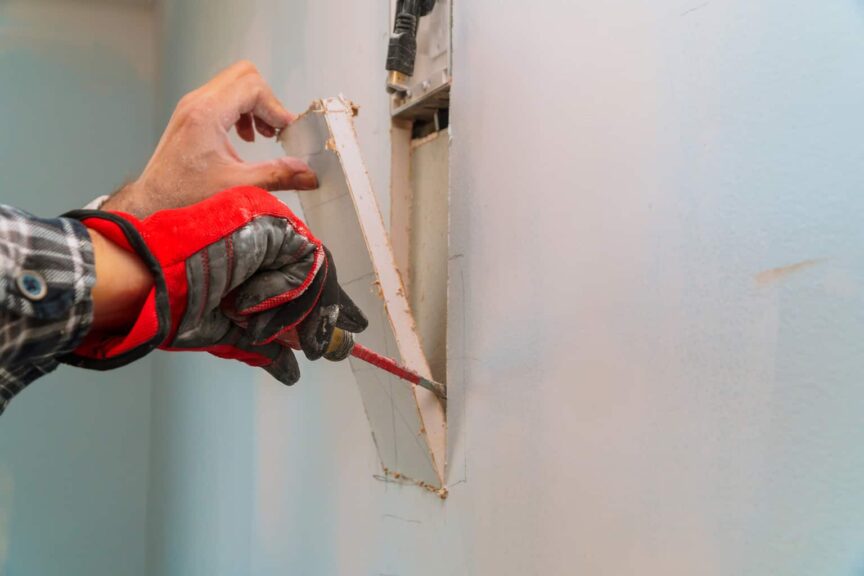
7. Cut Through the Sheetrock via Drywall Saw or Utility Knife
Cutting through sheetrock is a pretty simple way to mark sheetrock for outlets. Just cut the wall open, and you can see where everything goes. However, this will likely damage your sheetrock as well as cause a lot of dust you’ll have to clean up later on, so it’s best used as a method of last resort.
Conclusion
Marking your outlet locations on sheetrock is a pretty simple task. If you’re hanging drywall or making repairs, a pencil and a stud finder is probably the easiest way to mark sheetrock for outlets.
A center punch can also give you an accurate location of your future outlets as long as you have access from either side or through the adjoining room from where the sheetrock installation will begin.
While there are a variety of ways to mark sheetrock for outlets, the best method depends on the tools you have available and your personal preference, so choose one that works well for you!
Sources
- YouTube: DIY Drywall Trick
- This Old House: How to Mark for Electrical Boxes
- Harbor Freight Tools: Drywall Tool
Share this Post
Giovanni Valle is a licensed architect and LEED-accredited professional and is certified by the National Council of Architectural Registration Boards (NCARB). He is the author and managing editor of various digital publications, including BuilderSpace, Your Own Architect, and Interiors Place.